Introduction:
When it comes to building a shed door, there’s a common misconception that it’s a simple DIY task anyone can tackle without much thought. However, the reality is that a sturdy and secure shed door requires careful planning, the right materials, and proper construction techniques. In this blog, we’ll debunk this myth and provide you with a step-by-step guide on how to build a shed door that not only looks great but also stands the test of time.
Table of Contents
Understanding Shed Door Essentials:
Before we dive into the construction process, it’s crucial to grasp the fundamental components of a shed door and why your choices matter.
Defining Shed Door Components:
A shed door may seem like a straightforward structure, but it’s made up of several key components. These include the door frame, door panels, hinges, handles, locks, and weatherproofing elements. Each component plays a vital role in the overall functionality and security of your shed door.
To start, let’s talk about the door frame. The frame provides the structural support for the entire door. It’s what holds everything together and ensures that your door remains sturdy and square. When it comes to the frame, precision is key, as any misalignment can lead to issues with the door’s operation and security.
The Importance of Choosing the Right Materials:
Now that we’ve touched on the components, let’s discuss the materials you’ll need. Many shed owners make the mistake of using subpar materials, thinking it won’t make much of a difference. However, the materials you choose can make or break the durability of your shed door.
For the door panels, plywood is a popular choice due to its affordability and ease of use. However, it’s essential to select high-quality plywood that can withstand the elements. Cheap or low-grade plywood may warp or deteriorate quickly, leaving your shed vulnerable.
In addition to plywood, consider the materials for the frame. Wood is a common option, but it should be treated to resist moisture and pests. Alternatively, you can opt for metal frames for added strength and longevity.
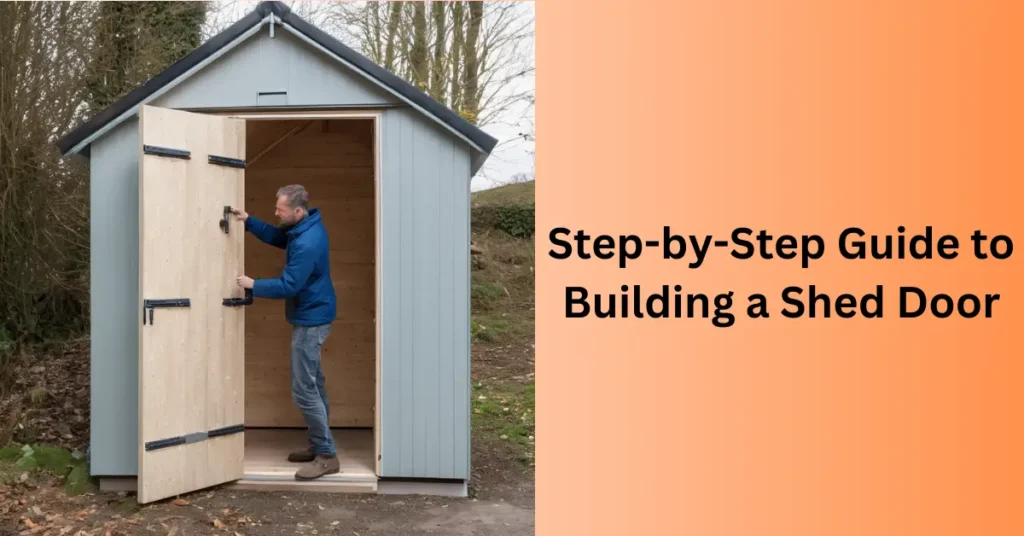
II.Step-by-Step Guide to Building a Shed Door
Planning and Measurements:
Before you dive into building your shed door, meticulous planning and precise measurements are essential. In this section, we’ll break down the initial steps to ensure your project starts on the right foot.
Accurate Measurements:
The foundation of a sturdy shed door is accurate measurements. Many DIY enthusiasts rush into projects without taking the time to measure properly, resulting in ill-fitting doors that don’t close properly or leave gaps. When it comes to shed doors, the devil is in the details.
Start by measuring the opening where your shed door will fit.
Measure both the height and width, and don’t assume that all sides are perfectly square – they often aren’t. Use a level and a carpenter’s square to confirm the angles. This step is crucial because it ensures your door will fit snugly, providing security and weather resistance.
Gathering Materials and Tools:
With accurate measurements in hand, it’s time to gather the materials and tools you’ll need for your shed door project. This step can make or break the ease of your construction process and the longevity of your door.
Materials Matter:
The quality of the materials you select is crucial. While it’s tempting to cut costs, especially for a shed project, using cheap materials can lead to premature wear and tear, which will ultimately cost you more in the long run.
As mentioned earlier, plywood is a popular choice for door panels. However, not all plywood is created equal. Opt for exterior-grade plywood, which is designed to withstand the elements. Look for plywood that’s been pressure-treated or features water-resistant coatings to enhance durability.
Additionally, consider the frame material. Wood is traditional and can work well when properly treated against moisture and pests. Metal frames provide extra strength and resistance to deterioration.
III. Step-by-Step Guide to Building a Shed Door
Design and Blueprint:
Now that you’ve measured your shed opening and gathered the necessary materials and tools, it’s time to delve into the design and blueprinting phase. This is where you’ll give your shed door its unique character and ensure it fits seamlessly with your shed’s overall aesthetics.
Design Considerations:
Designing your shed door involves making choices about its appearance and functionality. Consider the following:
Panel Style:
Decide on the style of door panels you want. You can opt for a single panel, double panel, or even add windows for natural light.
Trim and Molding:
Explore decorative trim options to enhance the door’s visual appeal.
Paint or Stain:
Determine whether you’ll paint your door, stain it, or leave it natural.
Hardware:
Select hinges, handles, and locks that match your shed’s style and provide the level of security you desire.
Cutting and Assembly:
With your design and blueprint in hand, it’s time to move on to the hands-on part of the project – cutting and assembly. This section will guide you through the practical steps of creating your shed door.
Safety First:
Before you start cutting and assembling, ensure you have the necessary safety gear, including safety goggles, gloves, and hearing protection if you’re using power tools. Safety should always be a priority in any DIY project.
Cutting the Door Panels:
Using your measurements and design plans, carefully cut the plywood panels to the correct size. Double-check your measurements to avoid errors.
Assembling the Frame:
Assemble the door frame using the selected material – wood or metal. Make sure it’s square and level to ensure the door operates smoothly.
III. Step-by-Step Guide to Building a Shed Door
Painting and Finishing:
Now that you’ve cut and assembled your shed door, it’s time to give it a polished look and protect it from the elements. Painting and finishing play a significant role in both the aesthetics and longevity of your door.
Choosing the Right Paint:
Selecting the right paint is crucial to ensure your shed door withstands weather and maintains its appearance. Look for exterior-grade paint that is designed to resist moisture and UV damage. Applying a primer before painting can also enhance adhesion and durability.
Staining Options:
If you prefer a natural wood look, staining is an excellent choice. Stains penetrate the wood, providing protection while allowing the wood grain to show through. Ensure you choose a stain that is suitable for exterior use.
Weatherproofing the Edges:
Pay special attention to the edges of your shed door, as this is where moisture can easily penetrate. Use weatherstripping or edge sealant to create a tight seal and prevent water infiltration.
Weatherproofing and Insulation:
To ensure your shed door remains sturdy and reliable over time, it’s essential to waterproof and insulate it. This step will protect your shed’s interior and keep it comfortable, whether it’s hot or cold outside.
Sealing the Gaps:
Inspect your shed door for any gaps or cracks that may allow drafts or moisture to enter. Seal these gaps with caulk or weatherstripping to create a tight seal.
Adding Insulation:
If your shed serves as more than just storage and you want to maintain a comfortable temperature inside, consider adding insulation. Foam board or fiberglass insulation can help regulate temperature and reduce energy costs.
III. Step-by-Step Guide to Building a Shed Door
Installing Locks and Handles:
Your shed door’s security is paramount, and this section will guide you through the process of selecting and installing locks and handles that offer peace of mind.
Choosing the Right Locks:
Selecting the appropriate locks for your shed door is crucial for security. Consider options like padlocks, deadbolts, or even smart locks, depending on your needs and budget.
Handles for Functionality and Aesthetics:
Handles not only serve a functional purpose but also contribute to the door’s overall look. Choose handles that are easy to grip and complement the shed’s design.
Installation Tips:
Proper installation ensures that locks and handles function as intended. Follow the manufacturer’s instructions carefully, and consider reinforcing the door frame for added security.
Threshold and Sealing:
The final steps in building a sturdy shed door involve addressing the threshold and sealing to ensure your door is secure and weather-resistant.
Threshold Options:
Thresholds help create a seamless transition between the door and the floor, preventing drafts, moisture, and pests from entering. Explore various threshold options, such as rubber seals or aluminum strips.
Sealing for Weather Resistance:
Apply weatherstripping around the perimeter of the door to create an airtight seal. This step is essential for keeping your shed interior dry and protected.

Conclusion:
As we wrap up our comprehensive guide on how to build a sturdy shed door, it’s essential to recap the key takeaways and encourage you to apply the expert insights and actionable tips provided throughout the guide.
Summarizing the Journey:
In this blog, we’ve debunked the common misconception that building a shed door is a simple task. We’ve emphasized the importance of accurate measurements, the right materials, and careful planning. Remember that precision in every step leads to a secure and functional shed door.
Craftsmanship Matters:
Crafting your shed door involves making design choices that suit your shed’s aesthetics while ensuring functionality. Whether you choose a classic or modern look, the craftsmanship you put into your door will pay off in both appearance and performance.
Security and Weather Resistance:
We’ve highlighted the significance of security and weather resistance. Your shed door should protect your belongings and withstand the elements. Proper locks, handles, thresholds, and sealing are vital for both security and weatherproofing.
Your DIY Project Success:
By following our step-by-step guide, you have the knowledge and tools to create a shed door that not only serves its purpose but also enhances the overall appeal of your shed. Your DIY project can be a source of pride and satisfaction.
For more information please visit insightfullhome.com.
Frequently Asked Questions about how to build a shed door:
In this section, we’ll address some common questions that shed owners and DIY enthusiasts often have when it comes to building a shed door. These FAQs aim to provide clarity and additional insights into your shed door project
Question 1: What is the ideal thickness for shed door panels?
The ideal thickness for shed door panels is typically 3/4 inch (19mm). This thickness provides stability and durability while preventing warping or sagging over time.
Question 2: Can I use hardwood for my shed door?
Yes, hardwood can be used for shed door panels and frames. Hardwood is known for its strength and durability. However, it’s essential to ensure the wood is properly treated to resist moisture and pests.
Question 3: How can I make my shed door more secure?
To enhance the security of your shed door, consider adding deadbolt locks, reinforcing the door frame, and installing security bars or cameras. Choose tamper-resistant hardware and ensure proper installation.
Question 4: What type of weatherstripping is best for sealing my shed door?
The best type of weatherstripping for sealing your shed door depends on your specific needs and climate. Options include adhesive-backed foam tape, V-strip weatherstripping, and door sweeps. Choose one that provides a tight seal against drafts and moisture.
Question 5: Can I add a window to my shed door for natural light?
Yes, you can add a window to your shed door for natural light. Consider using acrylic or tempered glass for safety. Ensure the window is securely installed and doesn’t compromise the door’s structural integrity.
We hope that these Frequently Asked Questions about how to build a shed door help.


I don’t think the title of your article matches the content lol. Just kidding, mainly because I had some doubts after reading the article.