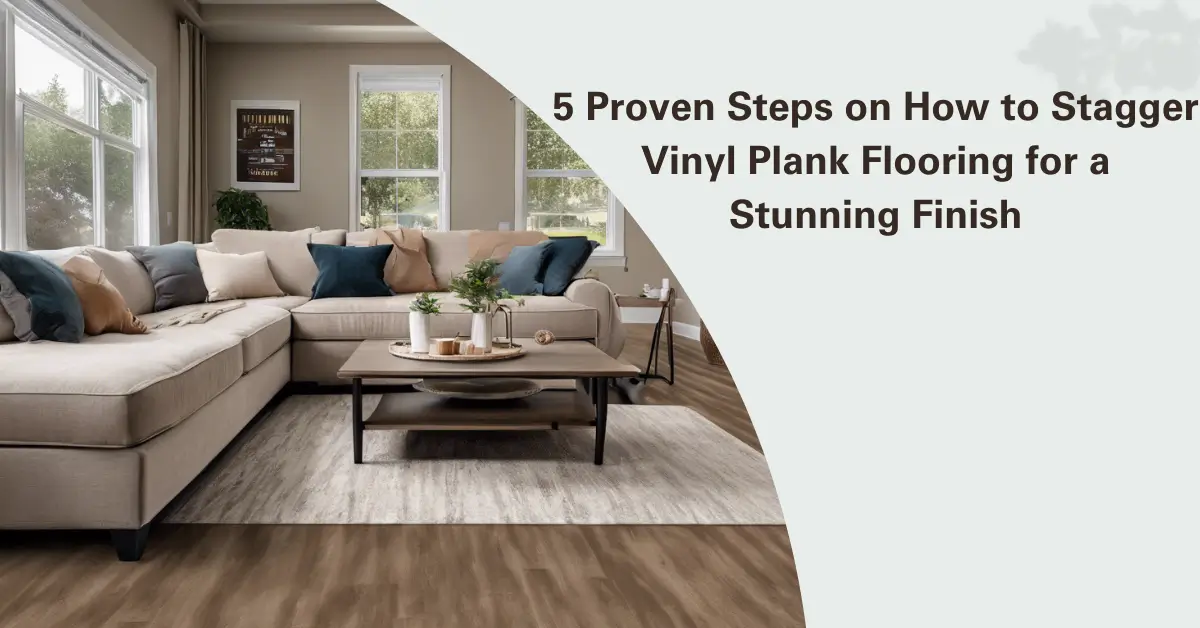
Dispelling the Myth: Vinyl Plank Flooring Staggering Isn’t Optional
When it comes to installing vinyl plank flooring, there’s a common misconception that staggering, or the arrangement of the planks, is merely a matter of personal preference. Some may believe it’s an optional step in the installation process.
Staggering vinyl plank flooring is not just an aesthetic choice; it’s a crucial technique that can impact the longevity, stability, and overall appeal of your flooring. In this comprehensive guide, we’ll explore the intricacies on how to stagger vinyl plank flooring, debunking myths, and revealing the expert secrets to achieving a professional finish.
Table of Contents
Understanding Vinyl Plank Flooring: A Solid Foundation

Before delving into the art of staggering vinyl plank flooring, let’s establish a solid foundation by understanding what vinyl plank flooring is and why it has become a favorite among homeowners and DIY enthusiasts alike.
What is Vinyl Plank Flooring?
Vinyl plank flooring is a versatile and cost-effective alternative to traditional hardwood or laminate flooring. It’s made from synthetic materials, typically consisting of several layers, including a wear layer, printed design layer, core layer, and backing. This composition provides durability, water resistance, and a wide range of design options. Homeowners are drawn to vinyl plank flooring for its ability to mimic the look of hardwood or natural stone while being more budget-friendly and easier to maintain.
Why Vinyl Plank Flooring?
Affordability:
Vinyl plank flooring offers an affordable way to achieve the look of hardwood or stone without breaking the bank.
Durability:
Its wear layer provides protection against scratches, stains, and daily wear and tear, making it ideal for high-traffic areas.
Water Resistance:
Vinyl plank flooring is resistant to moisture, making it suitable for kitchens, bathrooms, and basements.
Ease of Installation:
DIY enthusiasts appreciate its click-and-lock or peel-and-stick installation methods.
Versatility:
With an array of colors, textures, and patterns, vinyl plank flooring suits various design aesthetics.
As we delve deeper into this guide, we’ll explore why staggering vinyl plank flooring is essential to maximize these benefits and ensure a long-lasting, visually appealing result.
So, if you’re ready to elevate your flooring project and achieve a professional finish, let’s get started on the journey of mastering the art of vinyl plank staggering.
The Advantages of Staggering Vinyl Planks: Stability and Visual Appeal

In our previous section, we dispelled the myth that vinyl plank flooring staggering is optional. Now, we’re diving deeper into why it’s a critical step in your flooring project. Let’s explore the advantages of staggering vinyl planks, both in terms of stability and visual appeal.
Why is Staggering Necessary?
Staggering vinyl planks is about more than just aesthetics; it’s about creating a structurally sound and visually pleasing floor. Here’s why it matters:
1.Enhanced Stability:
When you stagger the joints or seams of your vinyl planks, you’re effectively distributing the weight and stress evenly across the entire floor. This prevents the formation of weak points or vulnerable seams, reducing the risk of damage, buckling, or gaps over time. Imagine it as the puzzle pieces locking together to create a robust foundation for your flooring.
2.Improved Visual Appeal:
Beyond stability, staggering vinyl planks create a more authentic and visually appealing result. It mimics the natural variation found in real hardwood flooring. A well-executed staggered pattern can make your vinyl plank floor look like genuine hardwood, enhancing the overall aesthetic of your space.
3.Reduced Waste:
Staggering also minimizes waste. By utilizing cut-off pieces from the previous row to start the next row, you maximize the usage of your vinyl planks, reducing costs and environmental impact.
4.Noise Reduction:
Staggering the seams helps in reducing noise transmission within the room, making your living space quieter and more comfortable.
Now, let’s delve into these advantages in more detail:
Enhanced Stability:
Imagine a scenario where vinyl planks are installed in a straight pattern, with all seams lining up in a perfect grid. While it may seem visually neat, it’s far from ideal in terms of stability. In this arrangement, any stress or impact on one seam can easily transfer to adjacent seams, potentially leading to damage. However, when you stagger the planks, the stress is distributed, creating a sturdy, interlocking structure.
Improved Visual Appeal:
Staggering isn’t just about structural benefits; it’s also about creating a visually appealing floor. A staggered pattern replicates the natural look of hardwood flooring, where boards are installed with variation in their starting points and lengths. This mimics the authenticity of hardwood and adds character to your space. Whether you’re going for a rustic, contemporary, or traditional design, the staggered pattern can complement your aesthetic choice.
Reduced Waste:
Vinyl planks can be a budget-friendly flooring option, and one way to maximize their value is by minimizing waste. When you stagger the planks, you can use offcuts from the end of one row to start the next row. This reduces the number of full-length planks you need, saving you money and reducing the environmental impact associated with flooring production.
Noise Reduction:
Staggering also contributes to a quieter living environment. The interlocking nature of staggered planks helps in dampening sound transmission. This can be particularly beneficial in homes with multiple levels or in rooms where noise reduction is essential, such as bedrooms or home offices.
In conclusion, staggering vinyl plank flooring isn’t just a matter of aesthetics; it’s a practical and essential step to ensure your flooring is stable, visually appealing, and efficient in terms of material usage.
Step-by-Step Guide to Staggering Vinyl Plank Flooring: Ensuring a Flawless Finish
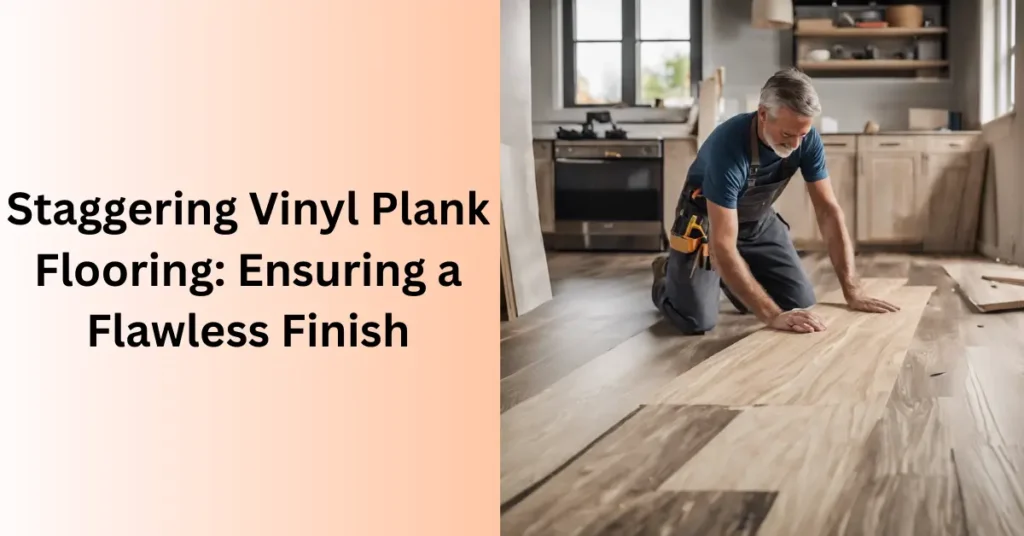
Now that we’ve established why staggering vinyl planks are essential for both stability and visual appeal, it’s time to roll up our sleeves and get into the practical aspects. In this section, we’ll provide you with a comprehensive step-by-step guide on how to stagger vinyl plank flooring like a pro. Follow these instructions diligently to ensure a flawless finish that will leave your space looking impressive and well-structured.
Step 1: Planning Your Layout
Before you start laying down your vinyl planks, it’s crucial to plan your layout carefully. Here’s how to do it:
- Measure the dimensions of your room to determine the total square footage. Knowing the room’s size helps you calculate how many planks you’ll need.
- Consider the direction of natural light and the room’s main entrance. Most often, it’s recommended to lay planks parallel to the longest wall or in the direction of the light source for an aesthetically pleasing look.
- Create a rough sketch of the room layout and indicate where you’ll start and end your installation.
Step 2: Measuring and Marking
Accurate measurements and precise markings are essential for a successful installation. Follow these steps:
- Begin by measuring the width of the room and divide it by the width of a plank. This will help you determine the width of the final row.
- Mark a guideline on the floor using a chalk line or a straightedge. This guideline will serve as your reference point for the first row.
- Measure the width of a plank and add the manufacturer’s recommended expansion gap (usually around 1/8 inch) to account for any thermal expansion.
- Use a square to mark this measurement at both ends of the guideline. Snap a chalk line between these points to create a straight reference line.
Step 3: Cutting Vinyl Planks
Inevitably, you’ll encounter situations where you need to cut vinyl planks to fit into smaller spaces or around obstacles. Here’s how to do it effectively:
- Measure the space you need to fill with the plank and mark the measurement on the plank itself.
- Use a utility knife or vinyl plank cutter to make a straight cut along the marked line.
- Ensure your cuts are precise to maintain a clean and professional look.
Step 4: Starting the First Row
With your layout planned, measurements taken, and planks cut as needed, it’s time to begin the installation:
- Align the first plank with the reference line you created in Step 2. Remember to leave the recommended expansion gap along the wall.
- Angle the tongue of the first plank into the groove of the second plank and gently press them together. Ensure they are tightly connected.
- Use a tapping block and a mallet to secure the planks together, especially if they are stubborn to fit.
Step 5: Continuing the Staggered Pattern
As you proceed with the installation, maintain the staggered pattern:
- For the second row, start with a plank that is at least 6 inches in length compared to the first plank in the first row. This staggered offset creates a stable and visually appealing pattern.
- Continue to interlock the planks, ensuring each one is tightly connected to the previous row.
Step 6: Ensuring Proper Alignment
Throughout the installation, pay close attention to alignment:
- Use a carpenter’s square or a straightedge to ensure the planks remain parallel to the reference line.
- Check periodically for gaps or misalignment, making adjustments as needed.
In the next part of this guide, we’ll delve into the intricacies of vinyl plank staggering, addressing common mistakes to avoid and providing tips for achieving a seamless look
Common Mistakes to Avoid When Staggering Vinyl Plank Flooring
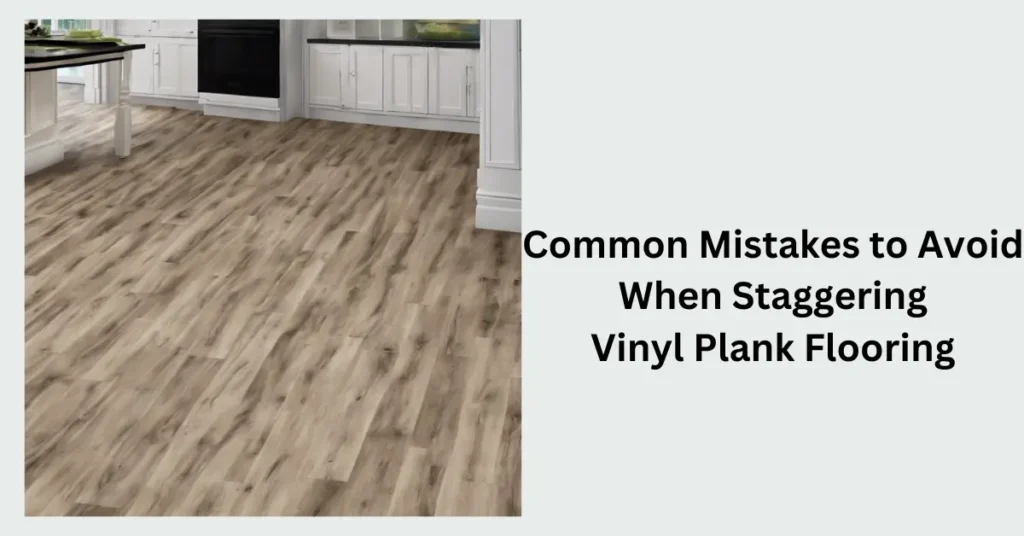
In our previous section, we walked you through the step-by-step guide to staggering vinyl plank flooring like a pro. Now, let’s focus on an equally crucial aspect of the process: avoiding common mistakes. Even with the best intentions, errors can occur during installation, potentially compromising the stability and visual appeal of your flooring. As an experienced SEO and copywriting expert, I’m here to share expert insights on what to watch out for and how to achieve a flawless finish.
Mistake 1: Ignoring Acclimation
One of the most common blunders in vinyl plank flooring installation is neglecting the acclimation process. Vinyl planks need time to adjust to the temperature and humidity of your space. Failing to acclimate the planks can result in buckling or gaps after installation. To avoid this mistake:
- Follow the manufacturer’s guidelines for acclimation, typically ranging from 48 to 72 hours.
- Leave the planks in their packaging in the room where they’ll be installed.
- Maintain the room’s temperature and humidity levels within the recommended range during acclimation.
Mistake 2: Inadequate Subfloor Preparation
A solid and smooth subfloor is essential for a successful vinyl plank installation. Skipping this step can lead to an uneven and unstable flooring surface. To prevent this issue:
- Inspect the subfloor for any imperfections, such as bumps, dips, or debris.
- Correct any subfloor issues by leveling it with a self-leveling compound or sanding down high spots.
- Ensure the subfloor is clean and free from dust and debris.
Mistake 3: Incorrect Expansion Gaps
Properly accounting for expansion and contraction is crucial in vinyl plank flooring installation. Failing to leave the necessary expansion gaps can result in buckling when the planks expand due to temperature changes. Here’s what you should do:
- Follow the manufacturer’s recommendations for the size of the expansion gap, typically around 1/8 inch.
- Use spacers along the edges of the room to maintain consistent gaps.
- Be especially diligent around fixed objects like columns and door frames to ensure gaps are maintained.
Mistake 4: Poorly Executed Cuts
Cutting vinyl planks may seem straightforward, but poorly executed cuts can ruin the overall appearance of your flooring. Avoid this mistake by:
- Measuring and marking your cuts accurately.
- Using a sharp utility knife or a vinyl plank cutter.
- Ensuring that the cuts are straight and fit snugly against walls and obstacles.
Mistake 5: Neglecting Alignment
Maintaining proper alignment during installation is vital for achieving a professional look. To prevent misalignment:
- Use a carpenter’s square or a straightedge to check for parallel lines regularly.
- Adjust the planks as needed to ensure they align with the reference line.
By being aware of and avoiding these common mistakes, you’re well on your way to a successful vinyl plank flooring installation. In the next section, we’ll focus on the pros and cons of staggered vinyl plank patterns, helping you make informed decisions about the aesthetic aspects of your project.
Pros and Cons of Staggered Vinyl Plank Patterns: Finding Your Perfect Look
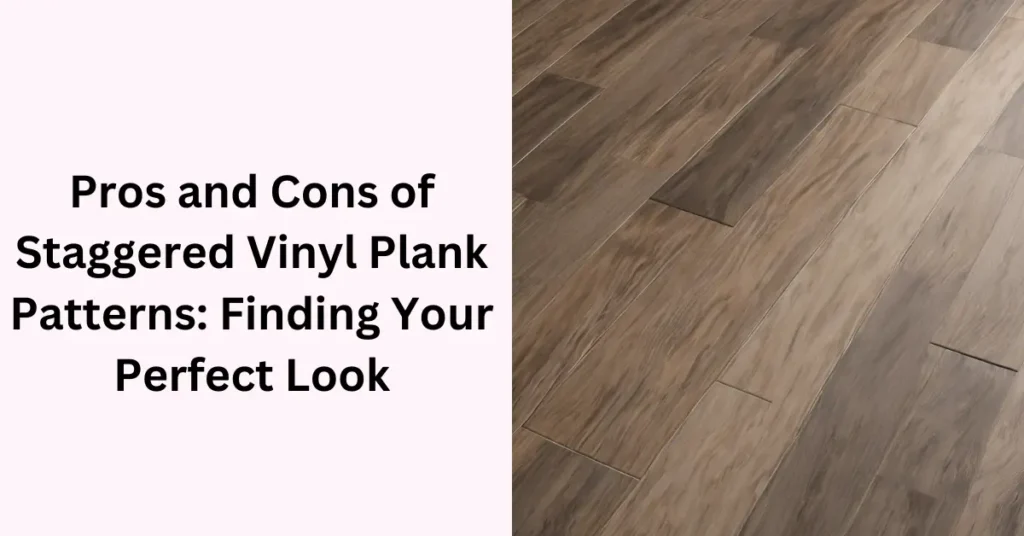
As you embark on your journey to master the art of vinyl plank flooring staggering, it’s essential to consider the various design aspects. In this section, we’ll delve into the pros and cons of staggered vinyl plank patterns, helping you make informed decisions about the aesthetics of your project. By understanding the benefits and potential drawbacks, you can choose the pattern that best suits your space and personal preferences.
Pros of Staggered Vinyl Plank Patterns:
1.Authenticity:
One of the primary advantages of staggering vinyl planks is the authenticity it brings to your flooring. A staggered pattern mimics the natural look of hardwood flooring, where boards are installed with variations in their starting points and lengths. This authenticity adds character and charm to your space, creating a warm and inviting atmosphere.
2.Visual Appeal:
Staggered patterns create visual interest and depth in your flooring. The variations in the alignment of planks break up the monotony of a straight pattern and draw the eye, making your floor more visually appealing. It’s an excellent choice for those looking to add a touch of elegance to their living spaces.
3.Reduced Waste:
Staggering vinyl planks efficiently utilizes your materials, minimizing waste. By using offcuts from the end of one row to start the next, you save money on materials and reduce the environmental impact associated with flooring production.
4.Structural Integrity:
Staggered patterns contribute to the structural integrity of your flooring. The interlocking nature of the planks in this pattern creates a stable foundation, reducing the risk of damage, buckling, or gaps over time. This structural stability ensures your flooring stands the test of time.
Cons of Staggered Vinyl Plank Patterns:
1.Complexity:
While staggered patterns offer numerous benefits, they can be more complex to install than straight patterns. Achieving a seamless staggered look requires careful planning and attention to detail. If you’re new to DIY flooring projects, it might take some practice to get it just right.
2.Alignment Challenges:
Maintaining proper alignment can be a challenge, especially in larger rooms. It’s essential to use a carpenter’s square or a straightedge regularly to ensure the planks remain parallel to your reference lines. Misalignment can detract from the overall aesthetic.
3.Visual Variability:
While many appreciate the visual interest of staggered patterns, some may prefer the simplicity of a straight pattern. Staggered patterns may not be the best choice for those seeking a minimalistic or modern look.
4.Planning Requirements:
Staggered patterns require careful planning and measurement to ensure a balanced appearance. This can add extra time and effort to your project compared to simpler straight layouts.
In conclusion, the choice of whether to use a staggered vinyl plank pattern depends on your aesthetic preferences and your willingness to invest the time and effort required for installation. While it offers a wealth of benefits, it’s essential to weigh them against the potential challenges and complexities.
Best Practices for Vinyl Plank Flooring Installation: Tips for a Seamless Finish

In our journey to mastering the art of vinyl plank flooring staggering, we’ve covered the importance of planning, measuring, and avoiding common mistakes. Now, it’s time to delve into the best practices for vinyl plank flooring installation. These expert tips will help you achieve a seamless and professional finish, regardless of your chosen pattern.
1.Invest in Quality Underlayment:
Before installing your vinyl planks, consider the quality of the underlayment. A high-quality underlayment not only provides additional comfort and insulation but also helps reduce noise. It can also help address minor imperfections in the subfloor, ensuring a smoother installation.
2.Careful Subfloor Preparation:
A level and clean subfloor are essential for a successful installation. Take the time to address any imperfections, such as bumps or dips, before laying the planks. Use a self-leveling compound if needed and ensure the subfloor is free of dust and debris.
3.Proper Acclimation:
Don’t skip the acclimation process. Follow the manufacturer’s recommendations, allowing the vinyl planks to acclimate to the room’s temperature and humidity for the specified duration. This step helps prevent issues like buckling after installation.
4.Maintain Expansion Gaps:
Properly accounting for expansion and contraction is vital. Use spacers along the edges of the room to maintain consistent expansion gaps, typically around 1/8 inch. Be meticulous around fixed objects to ensure gaps are maintained.
5.Mix Planks from Different Boxes:
Vinyl planks can have slight variations in color or pattern from one box to another. To create a more uniform appearance, mix planks from different boxes while installing. This prevents clustering of planks with similar patterns in one area.
6.Use a Tapping Block and Mallet:
A tapping block and a rubber mallet are invaluable tools during installation. They help ensure tight and secure connections between planks, especially in the tongue-and-groove locking system. Use these tools to gently tap planks into place when needed.
7.Check Alignment Regularly:
Maintain proper alignment throughout the installation. Use a carpenter’s square or a straightedge to check for parallel lines regularly. Adjust the planks as needed to ensure they align with your reference lines.
8.Be Mindful of Door Frames and Transitions:
When reaching door frames or transitions to other flooring types, take extra care with your cuts. Use a template or a contour gauge to create precise cuts around these obstacles, ensuring a neat and professional finish.
9.Clean as You Go:
Dust and debris can accumulate during installation, potentially affecting the adhesive properties. Clean the surface regularly as you work to maintain a clean and smooth environment.
10.Follow Manufacturer Instructions:
Always adhere to the manufacturer’s installation guidelines and recommendations specific to the vinyl plank product you’re using. These instructions are crucial for warranty coverage and ensuring the best results.
By following these best practices, you’ll be well on your way to achieving a flawless vinyl plank flooring installation.
Tips for Achieving a Seamless Look: Mastering Challenging Areas and Maintaining Professional Finish

As we progress in our journey to master the art of vinyl plank flooring staggering, it’s essential to address the finer details that contribute to a seamless and professional finish. In this section, we’ll provide you with expert tips and tricks for tackling challenging areas and ensuring your entire floor looks impeccable.
1.Dealing with Irregular-Shaped Rooms:
Rooms with irregular shapes, corners, and angles can be challenging when staggering vinyl planks. Here’s how to handle them:
- Start by creating a paper template of the room. Lay out the template to plan your staggered pattern effectively.
- Use a contour gauge or template to transfer the shape of irregular corners or angles onto your vinyl planks.
- Cut the planks accordingly and fit them precisely into place.
2.Handling Doorways and Transitions:
Transition areas between rooms or doorways require special attention:
- For doorways, make sure to undercut the door casing to allow the vinyl planks to slide underneath, creating a clean and professional look.
- Use transition strips or moldings to bridge gaps between different flooring types seamlessly.
3.Navigating Obstacles:
Obstacles like support columns or kitchen islands can be tricky:
- Create a cardboard or paper template around the obstacle to guide your cuts.
- Use a jigsaw or a rotary tool with a cutting wheel to make precise cuts.
4.Maintaining Consistency:
Consistency is key to a professional finish:
- Continuously check for alignment and spacing to ensure a uniform appearance.
- Inspect each row to make sure the staggered pattern remains consistent.
5.Securing Loose Ends:
If you encounter any loose or lifted ends of planks during installation:
- Apply a high-quality flooring adhesive beneath the loose end.
- Use a heavy object or clamp to secure the end in place until the adhesive sets.
6.Final Inspection:
Before completing the installation, perform a thorough inspection:
- Check for any gaps, misalignments, or imperfections.
- Address any issues promptly to maintain a flawless finish.
7.Transition Strips and Molding:
When transitioning between rooms or different types of flooring, consider using transition strips or molding to create a clean and professional transition. These accessories not only enhance the aesthetics but also provide a functional barrier between different surfaces.
8.Regular Maintenance:
After completing the installation, it’s essential to maintain your vinyl plank flooring properly. Here are some maintenance tips:
- Clean the floor regularly with a soft broom or a vacuum designed for hard floors.
- Use a damp mop with a manufacturer-approved vinyl plank flooring cleaner for deeper cleaning.
- Avoid abrasive cleaners or excessive moisture, as they can damage the planks.
By applying these tips and tricks, you can master the art of vinyl plank flooring staggering and achieve a seamless, professional, and visually stunning result.
Conclusion: Your Journey to a Stunning Vinyl Plank Floor Begins

Congratulations! You’ve embarked on a journey to master the art of vinyl plank flooring staggering, and we’ve covered all the essential aspects to ensure your success.
From understanding the importance of staggering to a step-by-step guide, common mistakes to avoid, and best practices for installation, you now possess the knowledge and confidence to tackle your flooring project like a pro.
As we wrap up our expert guidance, let’s recap the key takeaways:
1.Staggering Matters:
Staggering vinyl planks is not optional; it’s a fundamental step that enhances stability, visual appeal, and longevity.
2.Benefits of Staggering:
Staggered patterns offer authenticity, visual interest, reduced waste, and structural integrity to your flooring.
3.Common Mistakes to Avoid:
Be mindful of acclimation, subfloor preparation, expansion gaps, cuts, and alignment to prevent common installation errors.
4.Pros and Cons:
Consider the pros and cons on how to stagger vinyl plank flooring patterns to choose the one that suits your style and preferences.
5.Best Practices:
Follow best practices, including investing in quality underlayment, meticulous subfloor preparation, proper acclimation, and maintaining expansion gaps.
6.Achieving a Seamless Look:
Tackle challenging areas, navigate obstacles, and maintain consistency for a flawless finish.
7.Final Inspection and Maintenance:
Perform a final inspection to ensure perfection and maintain your vinyl plank flooring with care.
Your vinyl plank flooring project awaits, and armed with this knowledge, you’re well-prepared to transform your space into something exceptional. Remember to follow manufacturer guidelines specific to your vinyl planks and trust your instincts as you bring your vision to life.
For more information please visit insightfullhome.com.
FAQs about how to stagger vinyl plank flooring

As you embark on how to stagger vinyl plank flooring, you might have some questions or uncertainties. In this section, we’ve compiled a list of frequently asked questions to provide you with clear and expert answers. Feel free to explore these FAQs to gain further insights into vinyl plank flooring installation.
Question 1: How long does it take to install vinyl plank flooring?
The time it takes to install vinyl plank flooring can vary depending on factors like room size, experience level, and the complexity of the project. On average, a small to medium-sized room can be completed in a day or two for an experienced DIYer.
Question 2: Can I install vinyl plank flooring over existing flooring?
In many cases, you can install vinyl plank flooring over existing flooring, provided it’s in good condition and level. However, it’s essential to follow the manufacturer’s guidelines and ensure proper subfloor preparation.
Question 3: Can vinyl plank flooring be installed in bathrooms and kitchens?
Yes, vinyl plank flooring is suitable for bathrooms and kitchens, as it is water-resistant and durable. However, ensure proper sealing around edges and transitions to prevent moisture infiltration.
Question 4: What is the best underlayment for vinyl plank flooring?
The best underlayment for vinyl plank flooring depends on your specific needs. Foam or cork underlayment is commonly used for sound insulation and additional comfort. Always check the manufacturer’s recommendations.
Question 5: How do I clean and maintain vinyl plank flooring?
To clean vinyl plank flooring, use a soft broom or vacuum designed for hard floors to remove dust and debris. For deeper cleaning, use a damp mop with a manufacturer-approved vinyl plank flooring cleaner. Avoid abrasive cleaners and excessive moisture.
Question 6: Can I install vinyl plank flooring on stairs?
Yes, you can install vinyl plank flooring on stairs, but it may require additional tools and techniques. Consult the manufacturer’s guidelines for stair installation or consider seeking professional assistance for this specific task.
Question 7: How do I repair damaged vinyl plank flooring?
Small scratches or nicks can often be repaired with vinyl plank flooring repair kits available at hardware stores. For more extensive damage, consult the manufacturer’s warranty or consider replacing the damaged planks.
Question 8: Can vinyl plank flooring be installed over radiant heating systems?
Vinyl plank flooring is compatible with some radiant heating systems. However, it’s crucial to check the manufacturer’s recommendations and ensure that the heating system is compatible with vinyl flooring.
Question 9: What is the average cost of vinyl plank flooring installation?
The cost of vinyl plank flooring installation varies based on factors like the type of vinyl, room size, and labor costs. On average, you can expect to pay between $2 and $5 per square foot for installation.
Question 10: Is professional installation necessary, or can I DIY?
While many homeowners choose to DIY vinyl plank flooring installation successfully, some may prefer to hire professionals for larger or more complex projects. It ultimately depends on your comfort level and the scale of your project.
Have a nice day!


Pingback: Mastering the Art of Staggering Vinyl Plank Flooring – insightfullhome.com